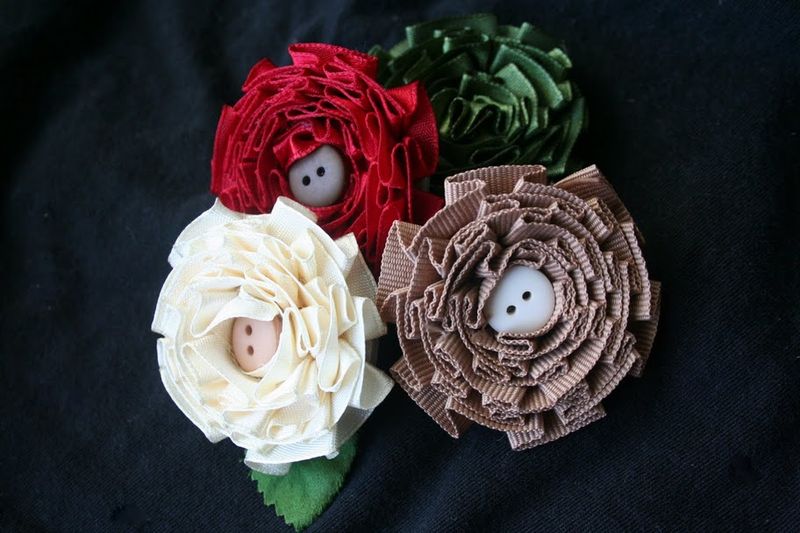
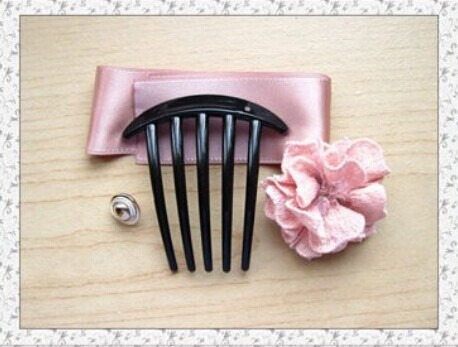
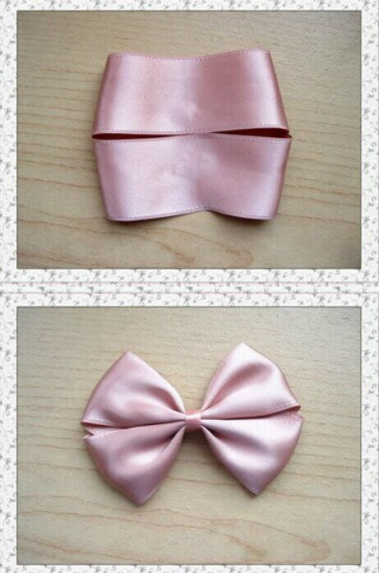
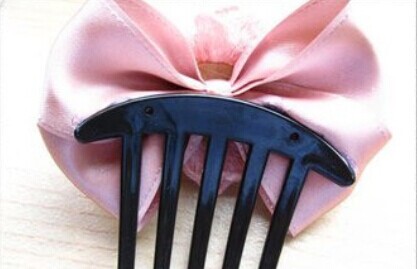
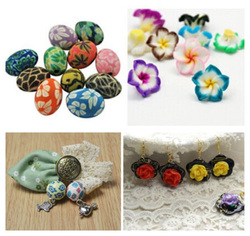
Flowers are pretty things that almost every one love them. It is also a kind of craft that craft makers and jewelry designers love to make. Flowers can be made with ribbons, paper, felt and some other materials. And ribbon flowers is a popular craft that I love most. They are not only pretty but also elegant. Today, I will share a easy tutorial about how to warp ribbon flowers.
How to wrap these pretty ribbon flowers? Let's start now!
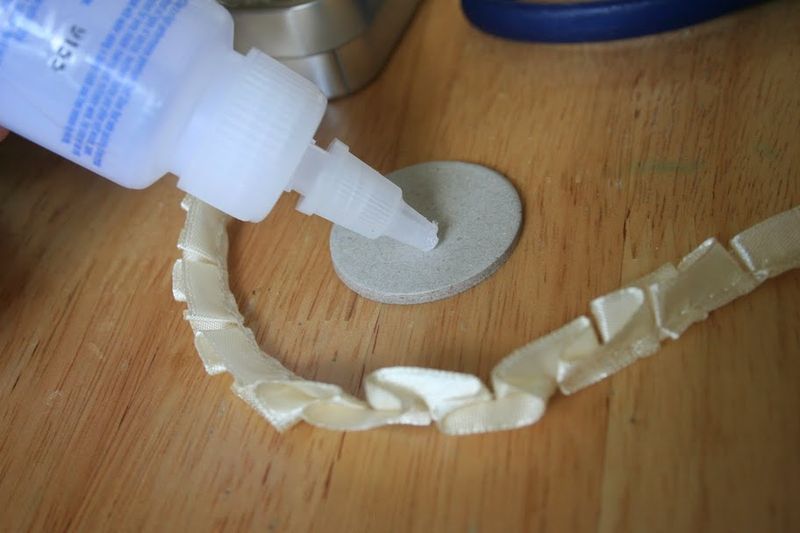
Step1: Put a big dot of glue in the middle of your round cardboard.
Step1: Put a big dot of glue in the middle of your round cardboard.
Step 2: glue the ribbon on the cardboard, please notice that you need to roll your ribbon in a spiral in your hand quickly.
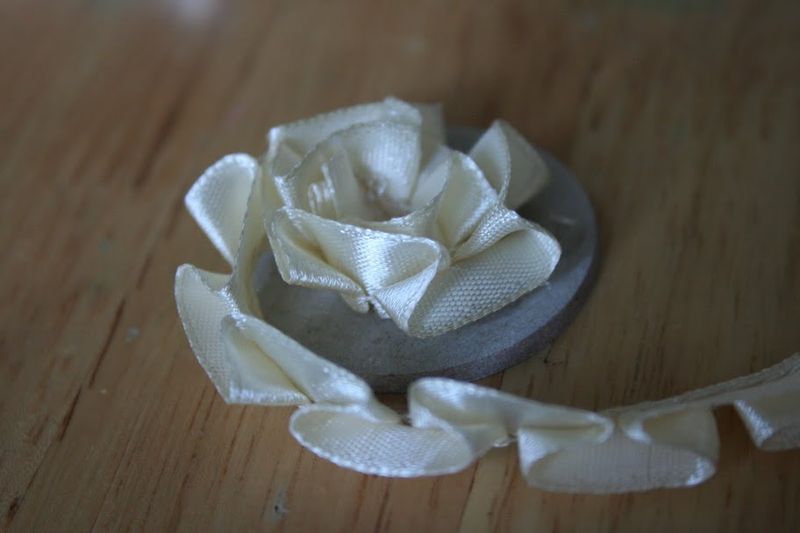
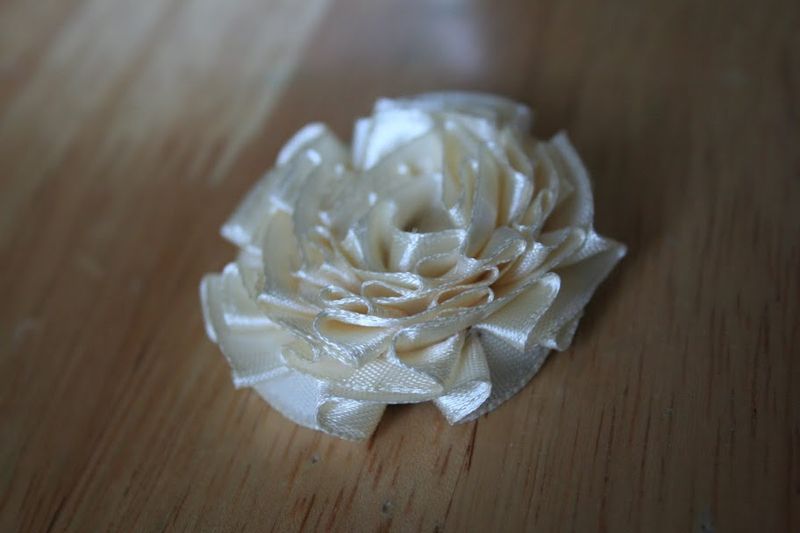
Step 3: keep adding the glue to the cardboard and spiral the ribbon around the circle. You need to keep wrapping until the ribbon is filled at the end of the cardboard.
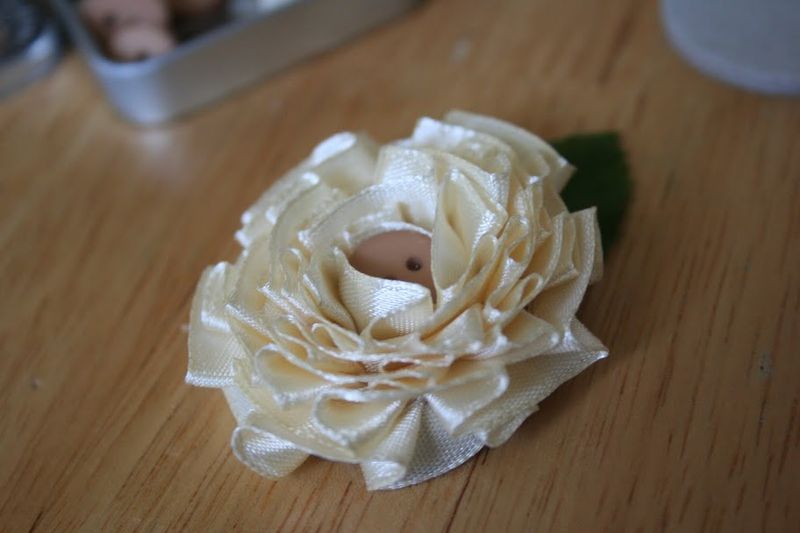
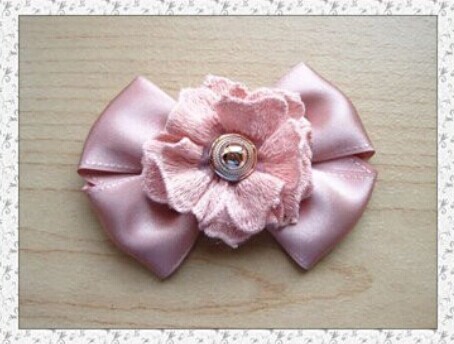
Step 4: Put the button in the middle of the flower and glue it on the flower.
Repeat the process and you will get other ribbon flowers finished.
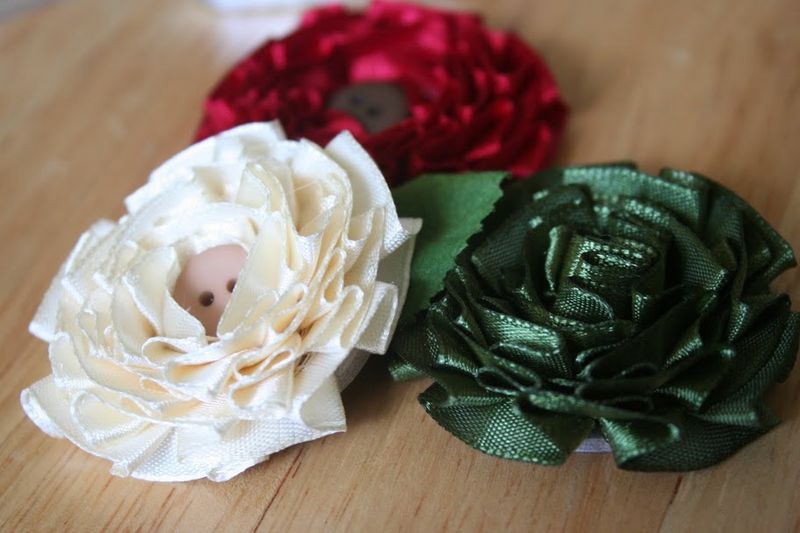
So easy, right? But the finished ribbon flowers are so beautiful! These satin ribbon are pleated, so you use them directly! These flowers take only 10 minutes to make! Have a try!


 RSS Feed

